HOW TO MAKE GLOW IN THE DARK SLIME
Making slime is a great way to bond with your children as well as foster mindfulness, strong motor skills, creative expression, and cognitive development. There are so many benefits of playing with slime!
We love to make slime in our home, so I’m always looking for new slime recipes to try. There are so many textures, scents, and sounds that come with different ingredient combinations, which really enhances the sensory experience of playing with slime!
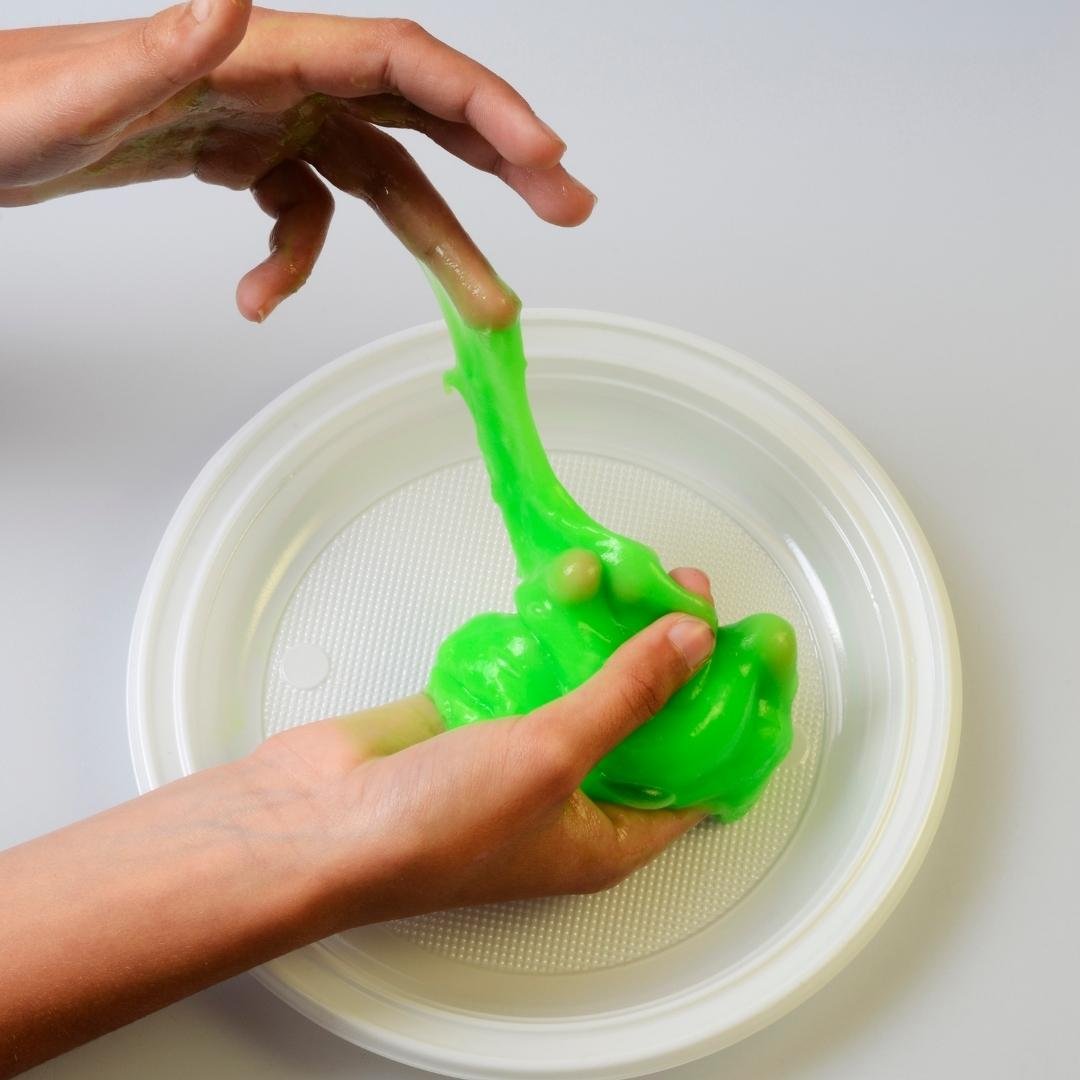
One recipe we’ve been loving recently is glow-in-the-dark slime!
Whether you have a movie night coming up or Halloween is just around the corner, glow-in-the-dark slime is the perfect way to elevate a “dark” evening of fun.
So, today, I’m sharing this recipe with you!
Here’s how to make glow-in-the-dark slime:
HOW TO MAKE GLOW IN THE DARK SLIME
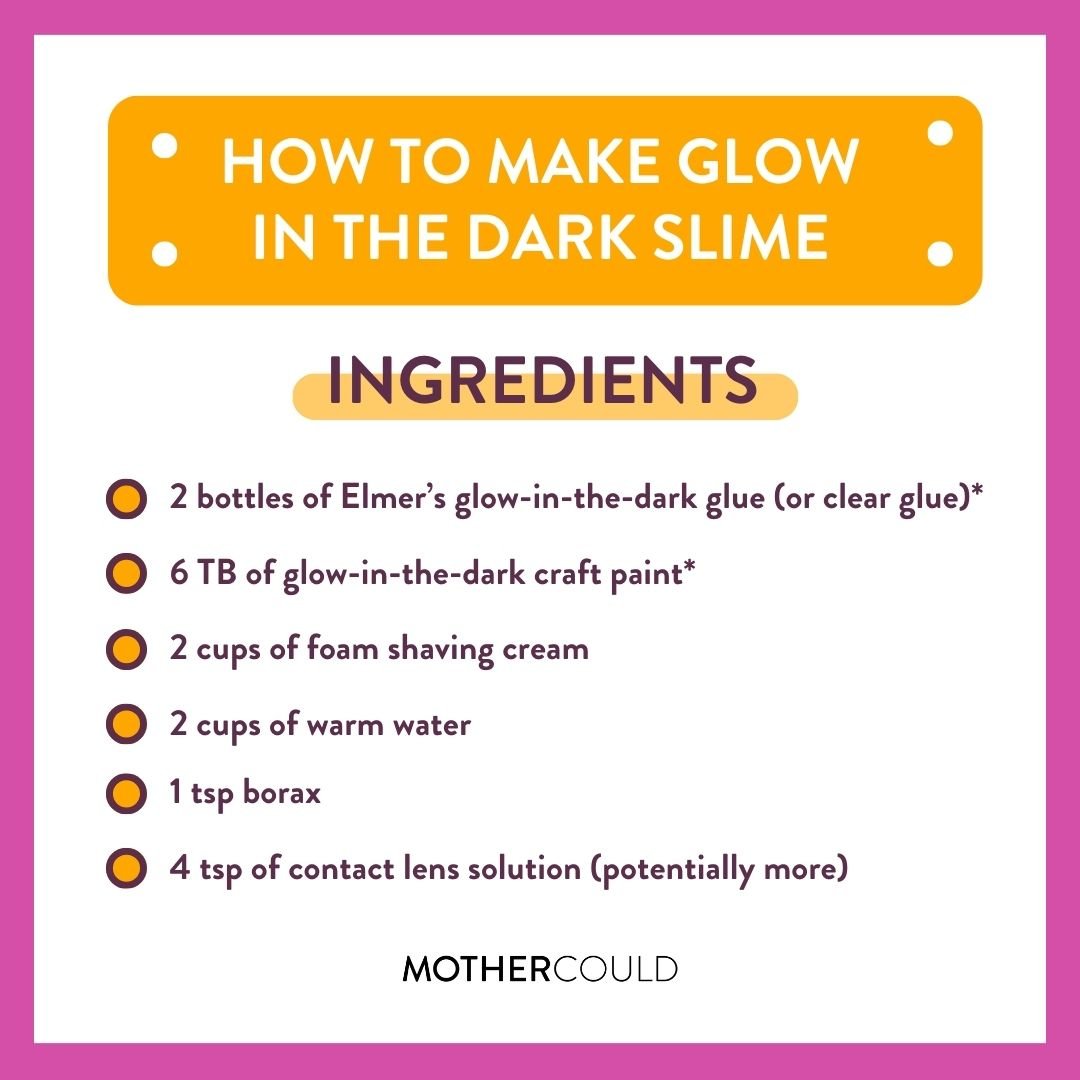
Glow in the Dark Slime Ingredients
2 bottles of Elmer’s glow-in-the-dark glue (or clear glue)*
6 TB of glow-in-the-dark paint*
2 cups of foam shaving cream (you may need another 1/2 cup)
2 cups of warm water
1 tsp borax
4 tsp of contact lens solution (potentially more)
*To make your color stronger, I recommend getting the same color glow-in-the-dark glue and glow-in-the-dark craft paint. If you want the “plain” glow-in-the-dark green color, use clear glue and non-colored paint. Whatever you choose to do, it’ll be a really cool activity either way!
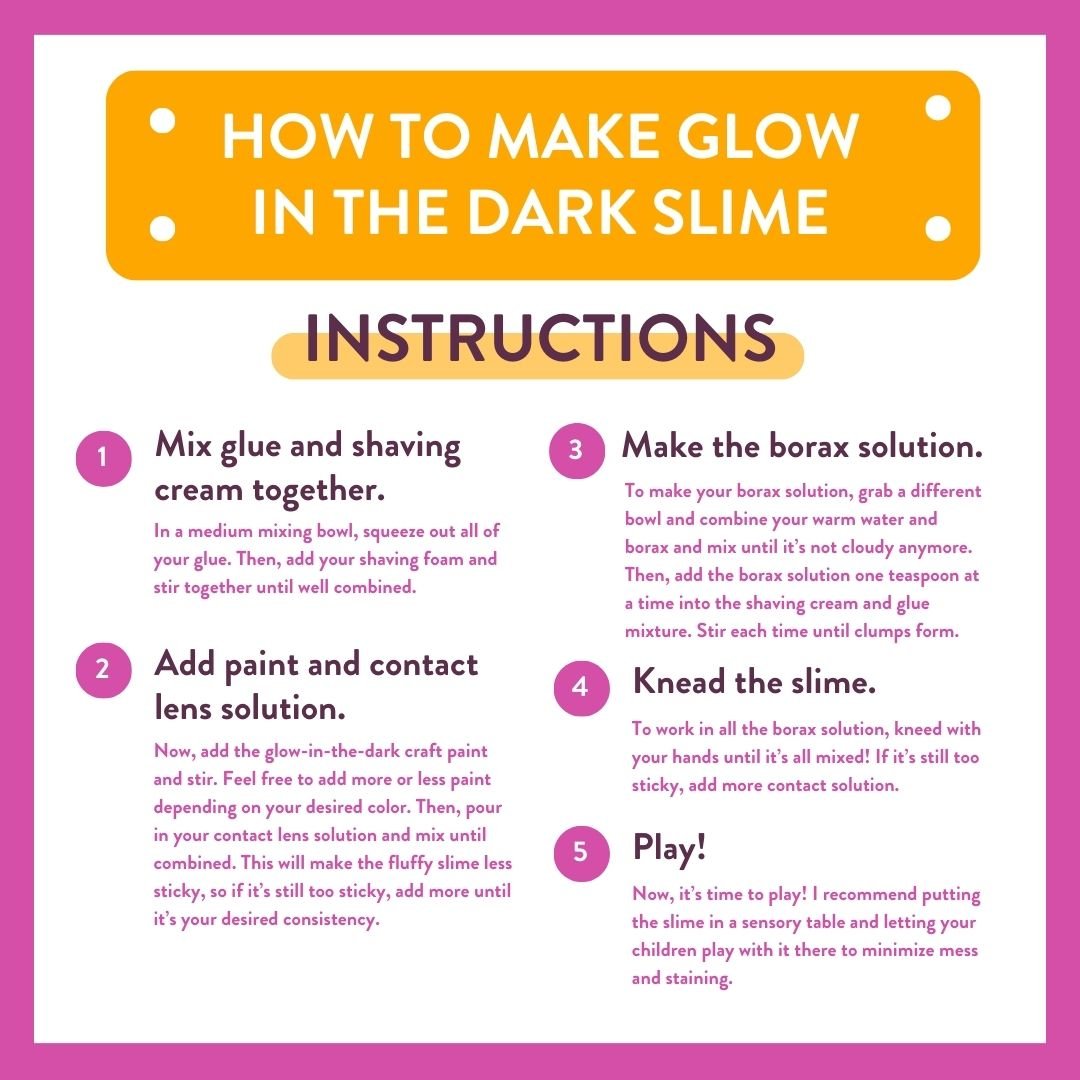
Instructions
Step 1: Mix glue and shaving cream together.
In a medium mixing bowl, squeeze out all of your glue. Then, add your shaving foam and stir together until well combined.
Step 2: Add paint and contact lens solution.
Now, add the glow-in-the-dark craft paint and stir. Feel free to add more or less paint depending on your desired color.
Then, pour in your contact lens solution and mix until combined. This will make the fluffy slime less sticky, so if it’s still too sticky, add more until it’s your desired consistency.
Step 3: Make the borax solution.
To make your borax solution, grab a different bowl and combine your warm water and borax. Mix until it’s not cloudy anymore.
Then, add the borax solution one teaspoon at a time into the shaving cream and glue mixture. Stir each time until clumps form.
Step 4: Knead the slime.
To work in all the borax solution, knead with your hands until it’s all mixed!
If it’s still too sticky, add more contact solution.
Step 5: Play!
Now, it’s time to play! I recommend putting the slime on a sensory table and letting your children play with it there to minimize mess and staining. If you don’t have one, here’s a good sensory table or you can make this DIY sensory table.
Play with the slime as is, or add plastic characters, DIY letters/shapes, or themed toys to make it even more fun and festive.
Other Super Easy Slime Recipes
Elevate playtime with glow-in-the-dark slime!
Doughs, slimes, sand, and goops are some of the best tools for sensory play. Not only are there lots of mental, social, and physical benefits of slime, but kids love it—meaning it’ll keep them occupied for hours!
I hope this glow-in-the-dark slime has made your next playtime really memorable and fun. Remember, that this slime is not taste-safe, so this is slime for bigger kids who are over-putting stuff in their mouths.
You can find plenty of taste-safe activities on the blog and the Mothercould in Your Pocket resource. You’ll also find other sensory playtime ideas, cleaning hacks, parenting tips, and meal ideas. Everything you need to make lasting memories with your kids!
I hope you like this glow-in-the-dark slime recipe as much as we do. Now, you can sit back, relax, have fun, and let the slime glow!


